
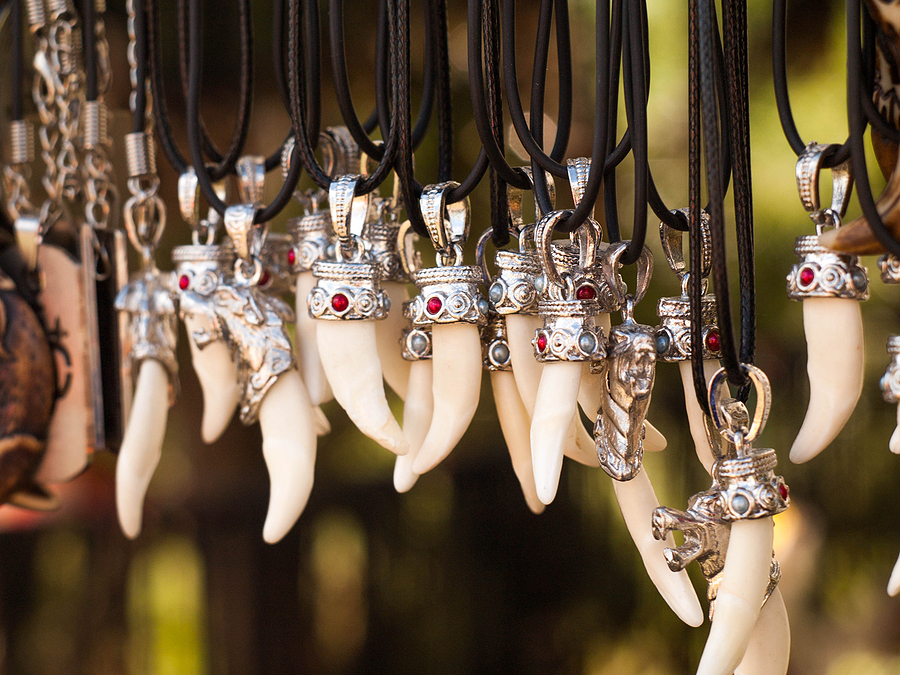
A bone carving necklace is an ancient piece of jewelry from several tribal groups. Native Africans and Americans are known for this artwork. Whichever it is, carvers can easily mold them to form pretty necklaces.
Previously, the Maori people carved things with bones ranging from weapons to necklaces. Their different designs had several meanings and depicted status. They are being used as souvenirs in all parts of the world, but what’s more special than creating one yourself?
Are you a lover of creativity, and do you find the idea of this artwork intriguing? Perhaps you would like to figure out more about this ancient practice of carving and make one for yourself. We would be of help as we would be explaining the whole concept and how a bone carving necklace is made.
- Procedures
Cattle and deer bone pieces are the easiest to get. The lower half of the leg is most suitable for carving. They are straight and have little flesh, making cleaning easy. Certain materials like safety gear, chisels, grit sandpaper, cutting board, coping saw, and a driller should be acquired for this process.
- Step One – Picking A Design.
As a beginner, simple designs like circular and spiral pendants are best. Draw your design on a piece of paper. Take the acquired piece and deep it in boiled water overnight. Get a leather mat and a cutting board. Once the mat is placed, dry out your piece on it.
- Step Two – Cutting.
Cut the appropriate size for your design, then use a round file to remove excess material until the shape is similar to the end product. Different sizes of chisel are needed to file away extra parts.
From a bigger to a smaller chisel, chip it down until it roughly resembles the final design for your bone carving necklace.
- Step Three – Carving Up.
Carve out sharp edges and fragments to make the design as neat as possible. With an etching knife, remove extra strands that do not belong in your bone carving necklace design. By now, it should look very much like what you desire.
- Step Four – Smoothing
Consider using safety gear like your goggles and mask for this step. Use sandpaper from the small 80 grit to the large 220 grit to remove all tool marks and scratches. Make sure your bone carving necklace piece is smoothed out to a sparkle.
Finally, use a hand drill to pierce a hole at the top of the piece. Do this carefully and firmly to avoid breaking the pendant. After this is done, you can then attach your string. A bone carving necklace is complete.
Making a bone carving necklace requires a lot and is usually tedious. We have highlighted basic steps to guide you through the process. To make things easier, you could consider purchasing an already cleaned piece. Whichever it is, even if it is the actual boiling process, these steps should direct you.
Get creative with these steps and achieve great results for your bone carving necklace. The process does require a lot and might be too difficult for you to pull off. Not to worry, several artists in the game could also help you mold your unique type of jewelry.
Don’t wait for a souvenir from your vacation trips to achieve this beauty. You can get started with the right equipment by following these procedures.